


Beginner’s Guide: How to Set Up and Use Your YES Smartwatch in 10 Minutes
 By Md. Shofikul Islam
7 months ago
By Md. Shofikul Islam
7 months ago
Your YES Smartwatch, Ready in Just 10 Minutes
You’ve ordered your YES Smartwatch, unboxed it, and now you’re thinking: “How do I set this up?”
Don’t worry – you don’t need to be a tech expert.
In this simple beginner’s guide, we’ll walk you through how to:
- Charge and power on your YES Smartwatch
- Connect it to your smartphone via the official app
- Set basic preferences like language, time, and watch face
- Turn on important features like health tracking and notifications
Follow these steps, and within about 10 minutes your YES Smartwatch will be ready to use in daily life.
Step 1: Unbox and Check What’s Inside
First, make sure everything came properly in the box. Typically, a YES Smartwatch box includes:
- The YES Smartwatch
- Magnetic charging cable or charging dock
- User manual / quick start guide
- Extra strap pins (for some models)
Check that there is no visible damage and that the screen is clean. If there’s a sticker on the display, gently remove it.
Step 2: Give It a Quick Charge
Even if the watch turns on, it’s a good idea to charge it for a few minutes before setup.
- Connect the USB end of the charger to a power adapter, power bank, or laptop.
- Attach the magnetic charger to the back of the watch – it will snap into place automatically.
- Once connected, you should see a charging icon or battery percentage appear on the screen.
A few minutes of charge is enough for setup, and a full charge will give you better battery backup from day one.
Tip: Avoid using very cheap, unknown chargers. Use a good quality 5V adapter to protect your smartwatch battery.
Step 3: Power On the YES Smartwatch
After a short charge:
- Press and hold the side button for 2–3 seconds.
- The YES logo or a welcome screen should appear.
- Choose your language if the watch asks for it on first startup.
If the watch doesn’t turn on, keep it on charge for 10–15 minutes and then try again.
Step 4: Install the Companion App on Your Phone
To use all features (notifications, health tracking, watch faces, etc.), you must connect your YES Smartwatch to its companion app.
- Open Google Play Store (Android) or App Store (iPhone).
- Search for the app name mentioned in the user manual or on the box (for many YES models this may be a popular smartwatch app like GloryFit, FitCloudPro, DaFit, etc. – always follow what is written in your manual).
- Download and install the app.
Important: Always use the official app recommended for your specific YES model to avoid connection issues.
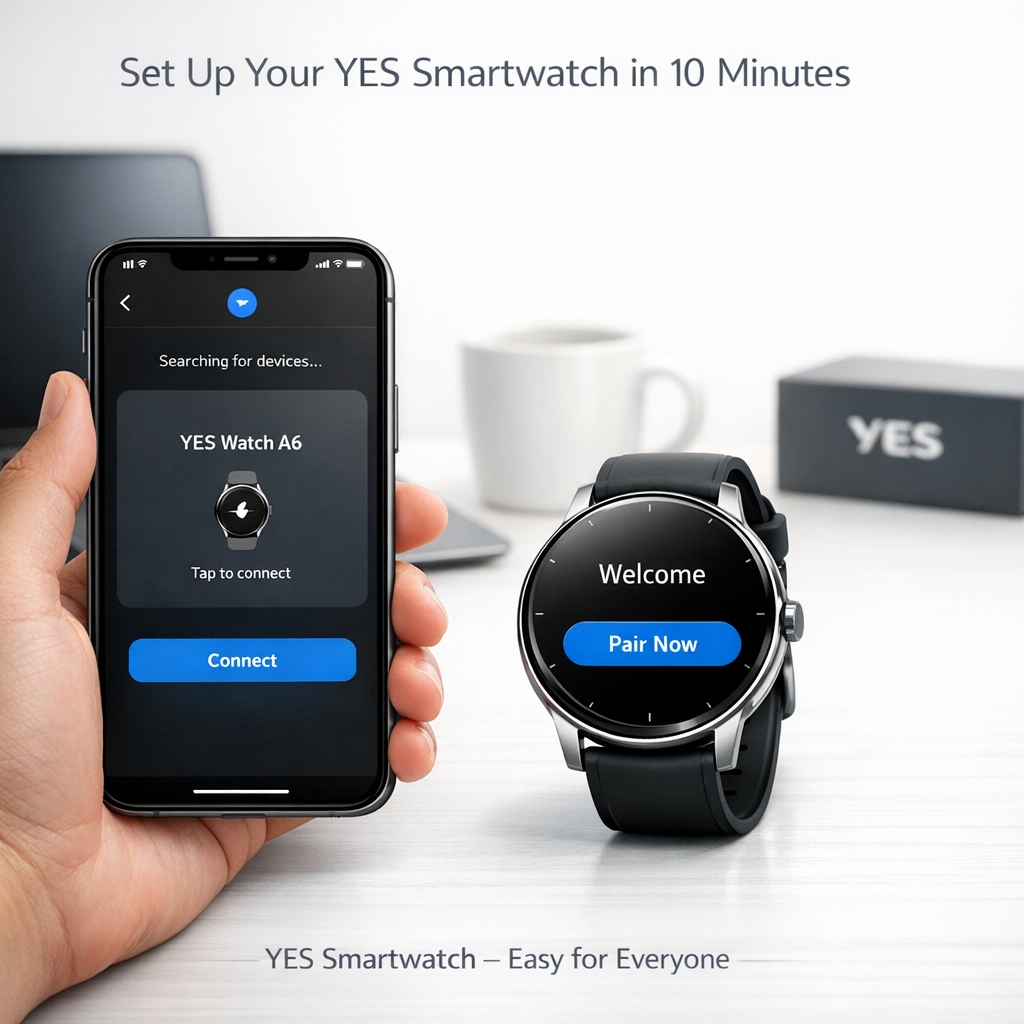
Step 5: Turn On Bluetooth and Pair the Watch
Now it’s time to connect your watch and phone.
- Make sure Bluetooth is ON in your phone settings.
- Open the smartwatch app you just installed.
- Register or log in if required (you can usually sign in with email, phone number, or a social login).
- Inside the app, look for an option like “Add Device”, “Pair Device”, or “Connect Watch”.
- The app will scan for nearby watches and show a device name (often starting with “YES” or the model number).
- Tap on your watch name and accept the pairing request on both phone and watch if any pop-up appears.
Once connected, the app and watch will sync time, date, and basic settings automatically.
Step 6: Set Your Personal Profile for Accurate Tracking
For health and fitness tracking to be accurate, you should update your profile inside the app:
- Gender
- Age
- Height
- Weight
- Daily step goal (for example: 6000, 8000, or 10,000 steps)
This helps the YES Smartwatch calculate calories burned, distance walked, and other stats more precisely.
Step 7: Enable Notifications (Calls, SMS, Apps)
One of the main reasons people love YES Smartwatches is the ability to see notifications without touching the phone. To enable this:
- Inside the app, go to Notifications or App Alerts.
- Turn ON call alerts and SMS alerts.
- Select the apps you want notifications from (WhatsApp, Messenger, Facebook, Instagram, Email, etc.).
- Give notification access permissions when your phone asks for them.
Now, when someone calls or messages you, you’ll see alerts directly on your YES Smartwatch.
Tip: Don’t turn on every single app notification; only enable the essentials so your watch doesn’t keep buzzing all day.
Step 8: Customize Your Watch Face
This is where your YES Smartwatch starts feeling personal.
- Long-press the watch face on the watch screen to switch between built-in styles.
- Or go to the Watch Face / Dial Center section inside the app to explore more designs.
- Many YES models allow you to use your own photo (family, friends, or favorite wallpaper) as a custom watch face.
Choose a style that matches your mood – classic, minimal, sporty, or colorful.
Step 9: Explore Basic Features (Health, Sports, and Tools)
Spend a few minutes exploring the main functions:
- Health Menu – heart rate, SpO₂ (blood oxygen), sleep tracking, stress monitoring (depending on model).
- Sports Modes – walking, running, cycling, skipping, yoga and more.
- Tools – alarm, stopwatch, timer, music control, weather, find phone, flashlight, etc.
You can usually swipe:
- Left/Right to move through widgets (steps, heart rate, weather, etc.)
- Up/Down to open quick settings or see notifications
Try one basic activity mode, like Outdoor Walk, and see how the watch records your steps and time.
Step 10: Fine-Tune Settings for Daily Use
To make your YES Smartwatch experience smoother, adjust a few key settings:
- Raise to Wake: Turn this on so the screen lights up when you lift your wrist.
- Vibration Intensity: Set vibration level to medium or high so you don’t miss alerts.
- Do Not Disturb (DND): Set sleep hours so the watch doesn’t vibrate at night.
- Brightness: Keep brightness at a level that is clear outdoors but doesn’t drain battery too fast.
These small tweaks make a big difference in comfort and battery life.
Quick Troubleshooting for Beginners
If something doesn’t work perfectly on day one, don’t panic.
- Watch not connecting?
- Restart your phone and watch, then try pairing again from inside the app.
- No notifications?
- Check notification access permissions and make sure the app is allowed to run in the background.
- Battery draining fast?
- Reduce screen brightness, lower screen timeout, and turn off unnecessary sports modes and 24/7 monitoring you don’t need.
Final Thoughts: Enjoy Your YES Smartwatch
That’s it! In just a few simple steps, you’ve:
- Charged and powered on your YES Smartwatch
- Paired it with your smartphone
- Enabled notifications and health tracking
- Customized your watch face and basic settings
Now your YES Smartwatch is ready to support you every day – whether you’re at work, in class, at the gym, or just relaxing at home.
Use it regularly, check your stats, and explore new features slowly. The more you use it, the more value you’ll get from your YES Smartwatch.